MCP Server
This workflow allows you to access an ApertureDB instance from an MCP platform, specifically any Generative AI that supports the Model Context Protocol.
Creating the workflow
Creating and deleting workflows
For general information on creating workflows in ApertureDB Cloud see Creating and Deleting Workflows.
![[object Object]](/assets/images/configure_mcp_server-97d80776ca5b0b58ca62c497a4629c8b.png)
1
- This workflow requires no configuration. Simply click the blue button at the bottom.
See the GitHub repository for more information
For more detailed information about what this workflow is doing, additional information about the parameters, and how to run the workflow outside of the ApertureDB Cloud, see the mcp-server documentation in GitHub.
See the results
Jupyter Notebook
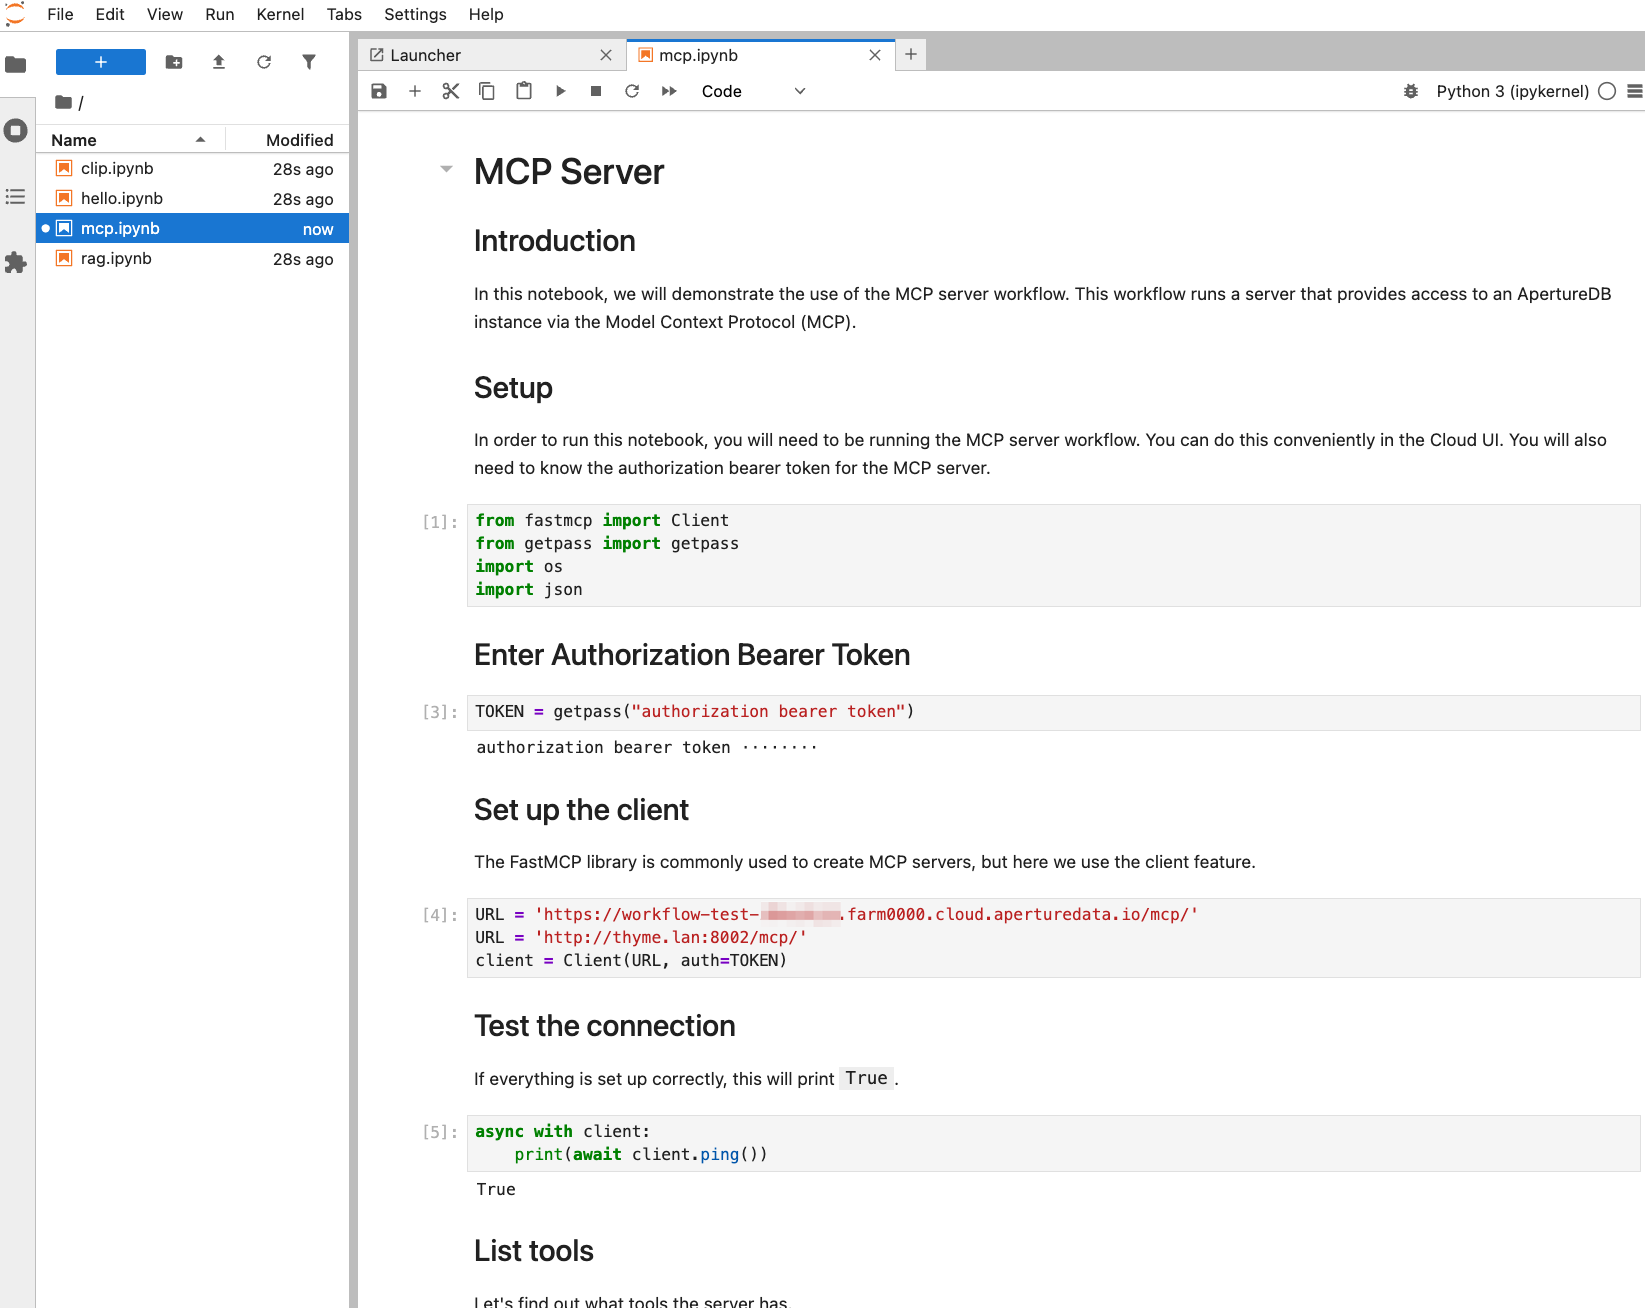
If you are running the Jupyter Notebook workflow, then there is a notebook mcp.ipynb that gives a quick demonstration of writing an MCP client by hand.
This will help you to test your MCP server.
MCP Inspector
An easy way to test your MCP server is by using the MCP Inspector. There are a number of ways to run this, but the recommended instructions are:
docker run -it -p 6274:6274 -p 6277:6277 allfunc/mcp-inspector:0.14.0
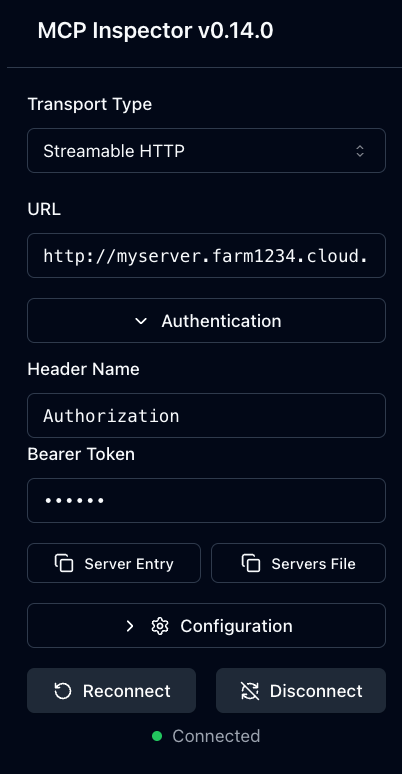
- Select "Streamable HTTP" as the Transport Type.
- Fill in the URL for your server, e.g.
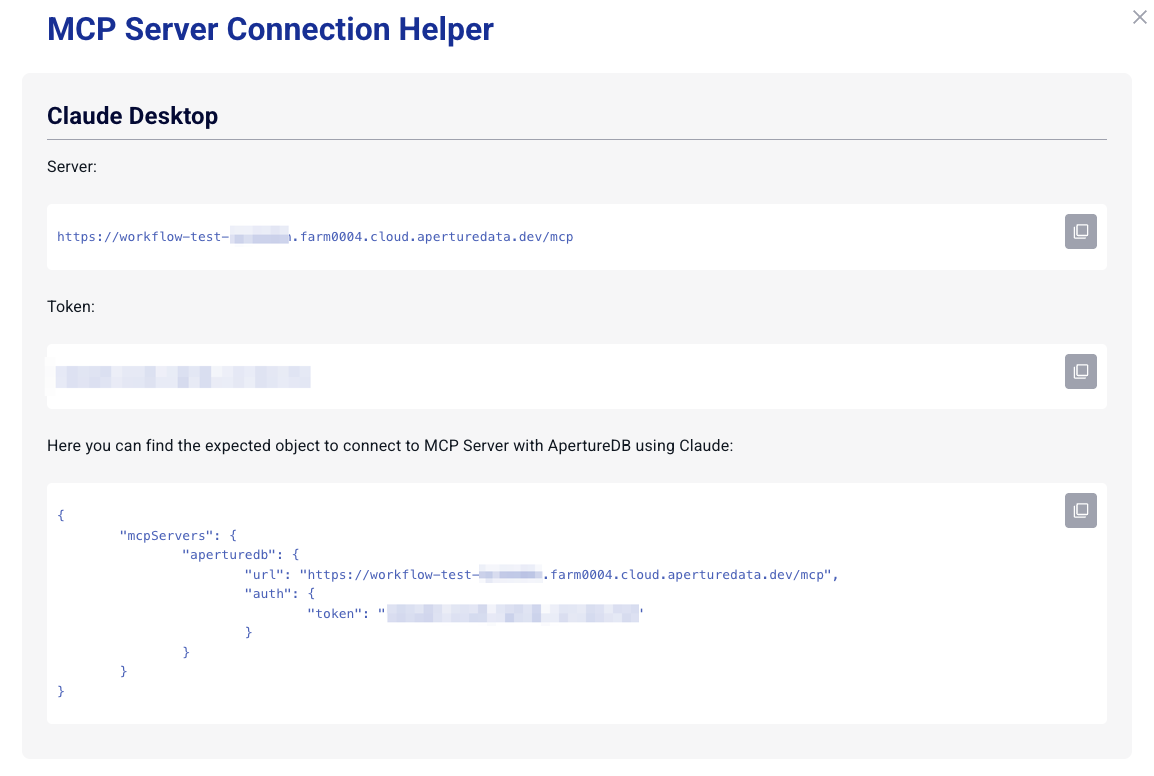
https://test.farm1234.cloud.aperturedata.io/mcp/ - Under Authentication, enter the authorization bearer token assigned to this workflow. You can find the token by clicking "Connection Helper" in the Cloud UI.
- Select the "Tools" tab and click on "List Tools"
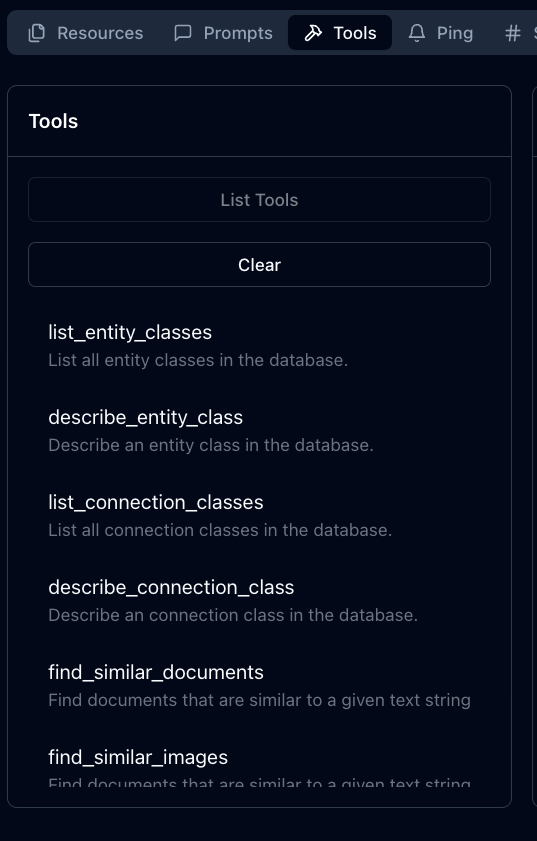
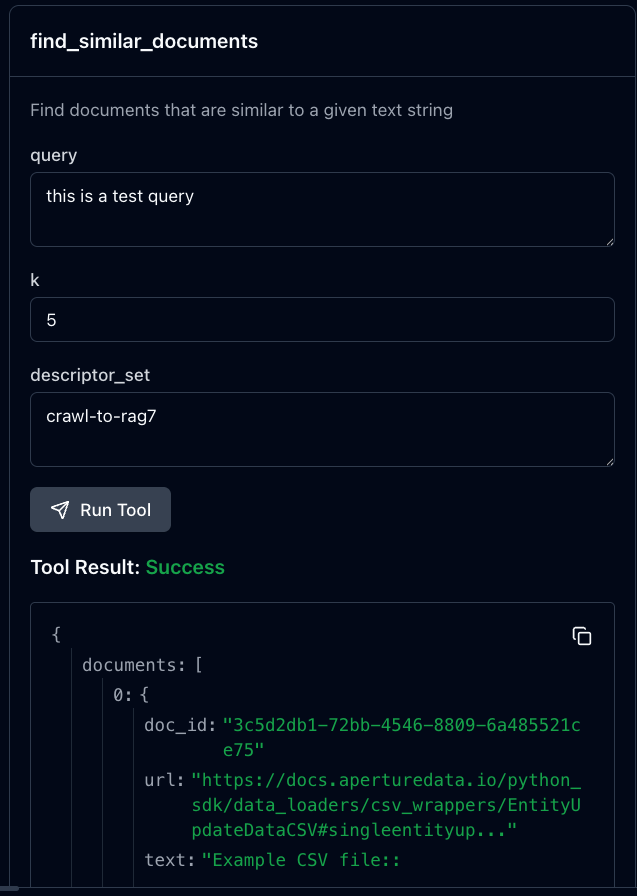
- Click on a tool, say
find_similar_documents, type a query, and select the descriptor set. Note, you can populate a text corpus on your instance by running the Website Chatbot workflow.
Claude Desktop
- First install Claude Desktop
- Find the configuration directory for Claude. On MacOS, this is
~/Library/Application\ Support/Claude - Download the helper script stdio-bridge.py. This allows Claude to see a remote streamable-HTTP MCP server with bearer token authentication as if it were a local stdio MCP server.
- Create a file called
claude_desktop_config.jsonwith contents like:
{
   "mcpServers": {
    "aperturedb": {
        "command": "python3",
        "args": [
            "/path/to/stdio-bridge.py",
            "https://<hostname>/mcp/",
            "<token>"
        ]
    }
   }
}
As before, get the hostname and token from the connection helper. Make sure you change the path to stdio-bridge.py.
- Start or restart Claude Desktop and ask it "What MCP servers do you have access to?"