Annotate with Label Studio
This workflow allows you to run a Label Studio application that has access to your ApertureDB instance. This allows you to label and annotate your images to help create and refine AI/ML pipelines.
Data for Labeling
Before you start the workflow, ensure you have data to label! If you need sample data to test this workflow with, try ingesting COCO using the Ingest Datasets Workflow.
Creating the workflow
![[object Object]](/assets/images/configure_label_studio-7fbe136200b85b7748fffdaab86fbfec.png)
- This workflow requires no configuration. Simply click the blue button at the bottom.
Accessing the Label Studio server
To connect to your Label Studio, wait until the workflow is Running and the "Connect" button has appeared - this means it is ready.
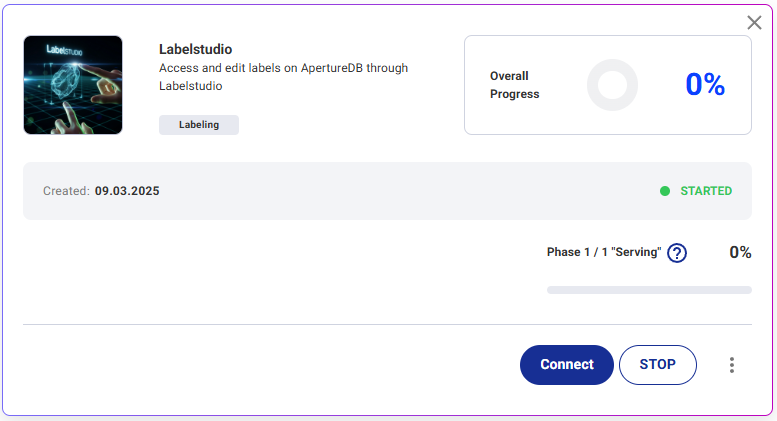
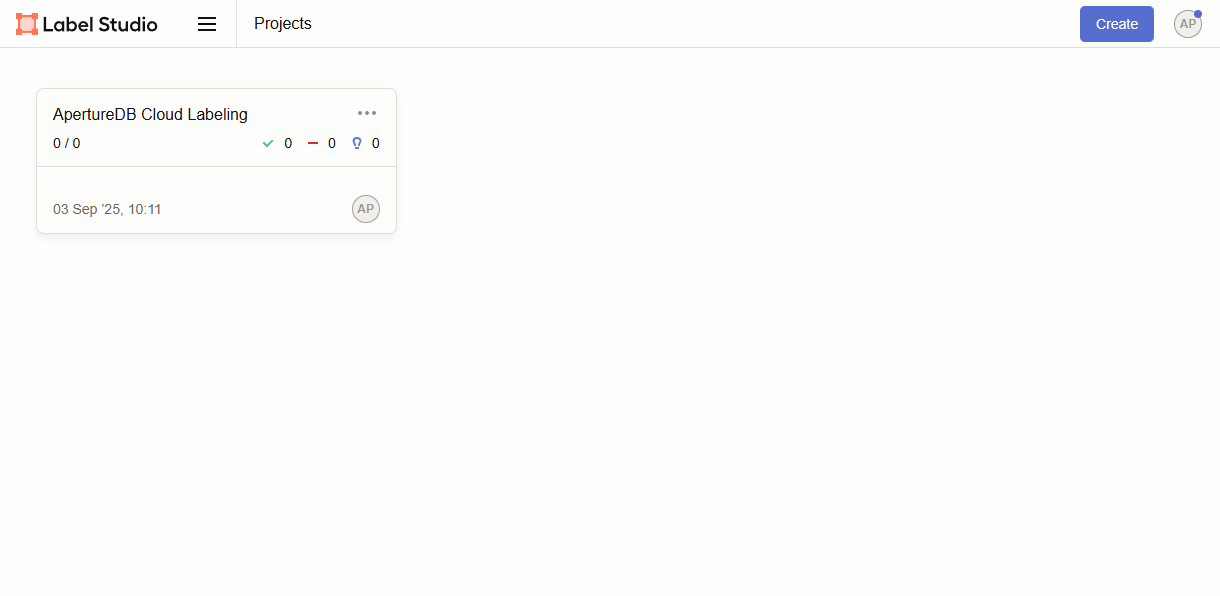
Press the connect button, and it should open a new window with the screen shown below. "ApertureDB Cloud Labeling" is the default project that has been created for you to use.
ApertureDB Cloud has generated a random strong access token and password for you. You should not need to change either.
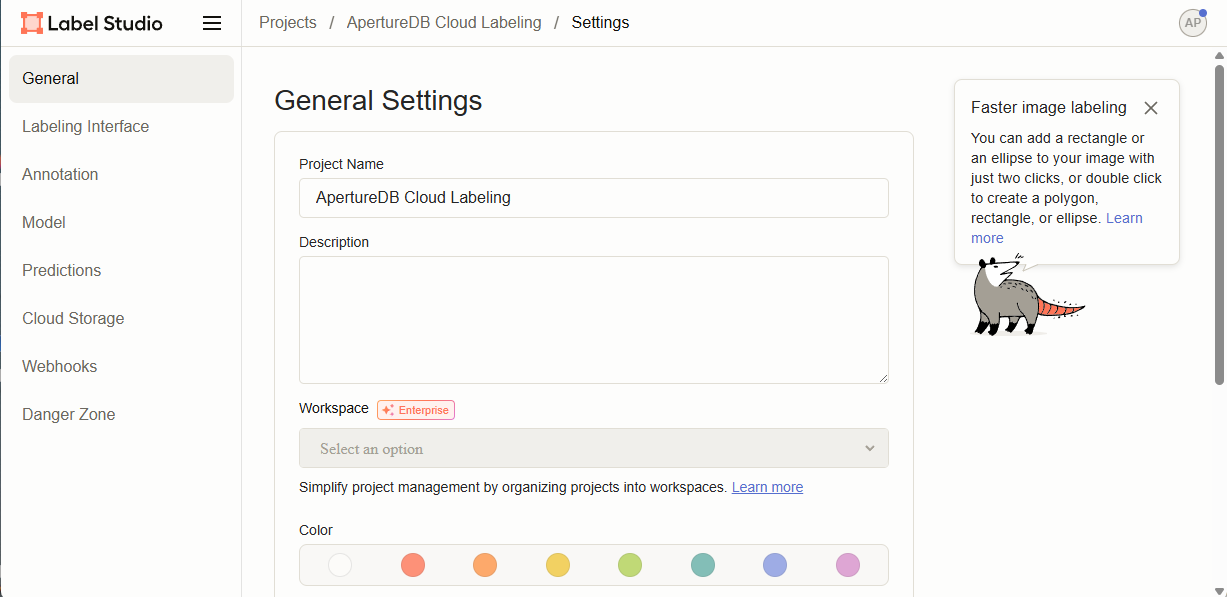
Configure Label Studio
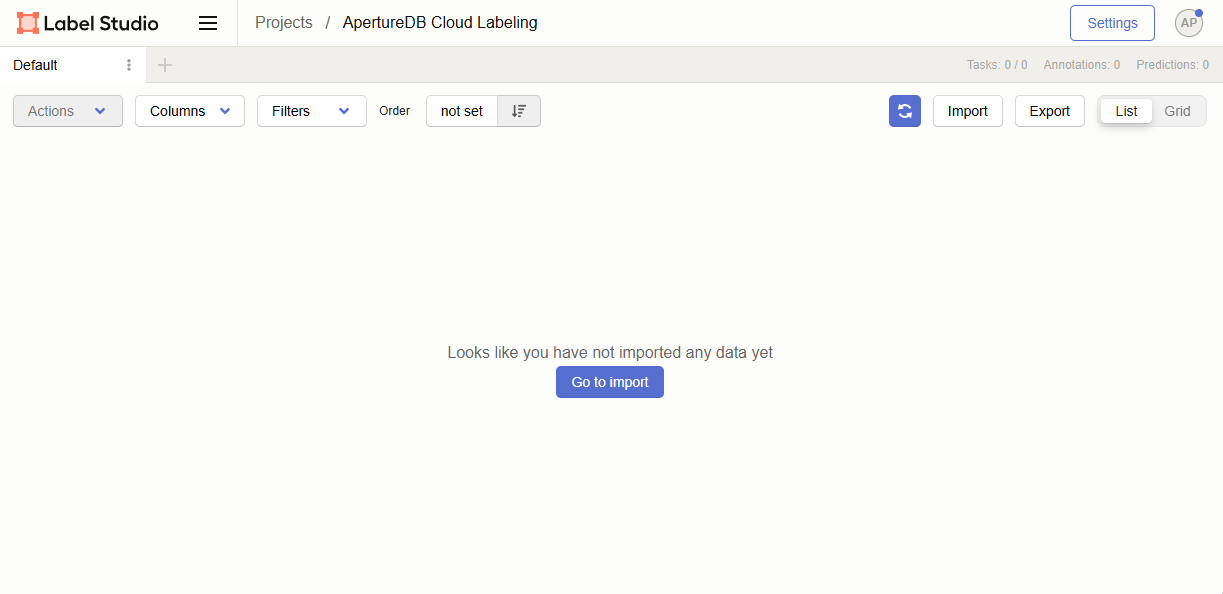
At this point you are ready to set up your Label Studio. When you click on the project that has been created, the screen will change to the interface below. To configure the project, click on settings.
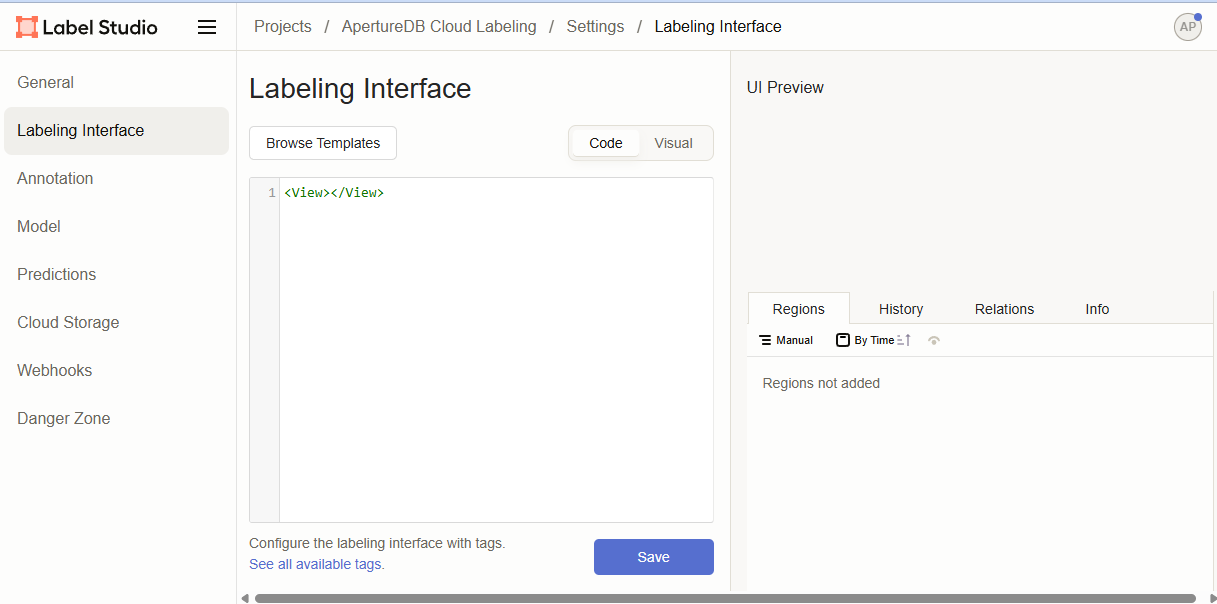
Next choose your labeling interface by clicking on "Labeling Interface" from the left column.
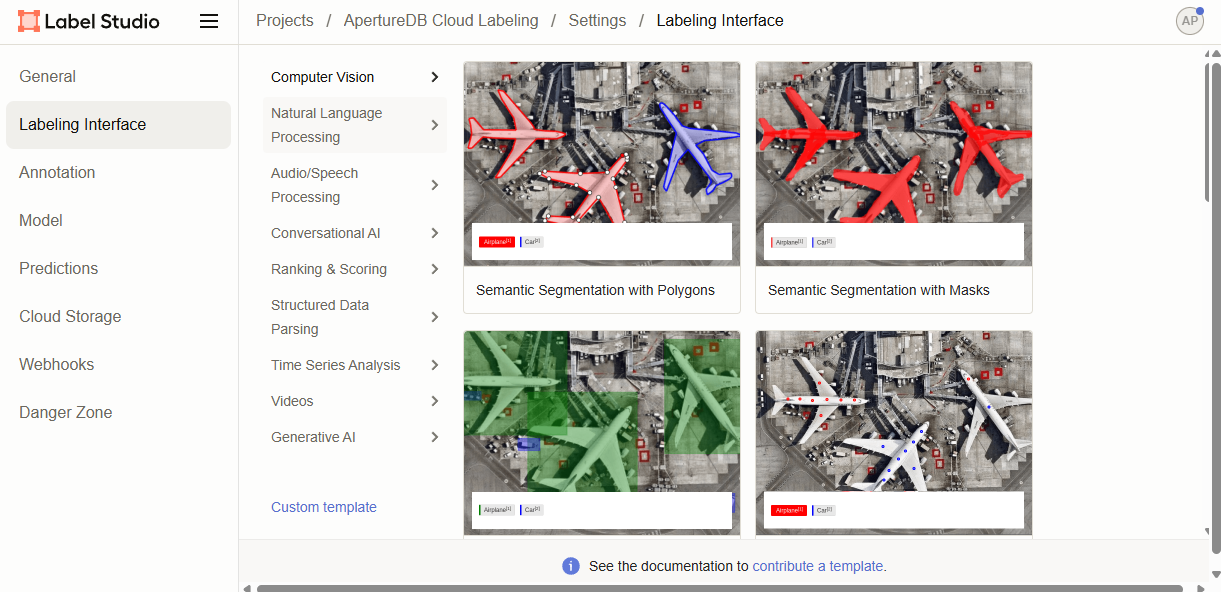
For most users, Label Studio provides a template that will let them get started. Click on 'Browse Templates' near the top of the Labeling Interface configuration options.
For this example, we will choose "Object Detection with Bounding Boxes". When you click on your choice, it will return you to the previous menu.
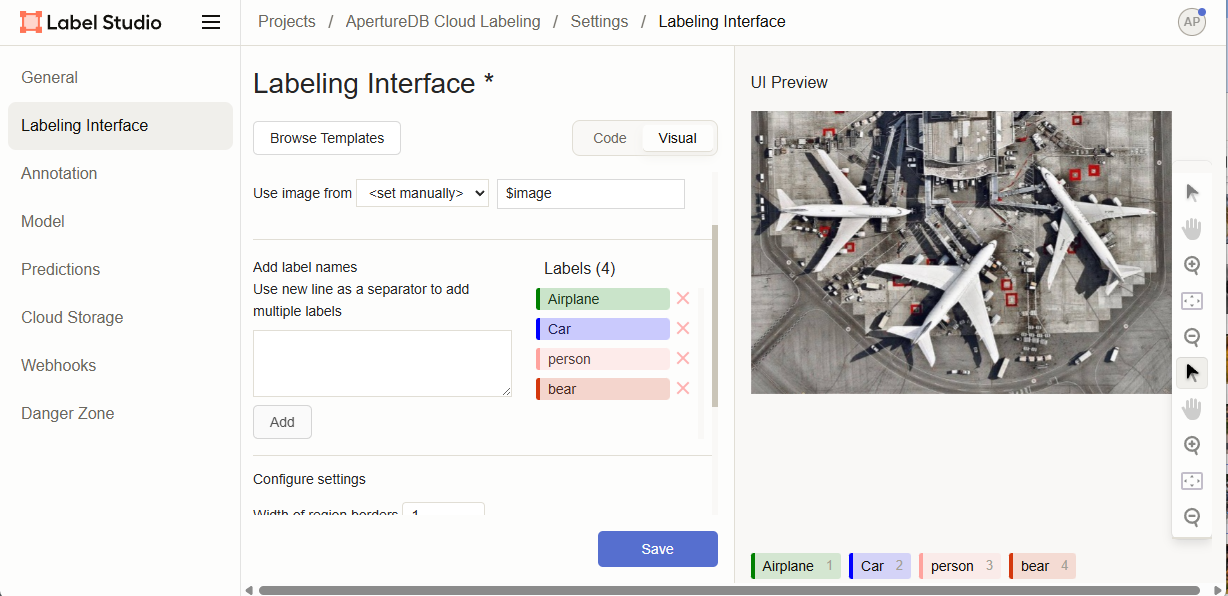
You should verify the settings - if labeling, you may want to modify the labels available here - but you can can also change it later.
After you are happy, press Save, then click 'Cloud Storage'
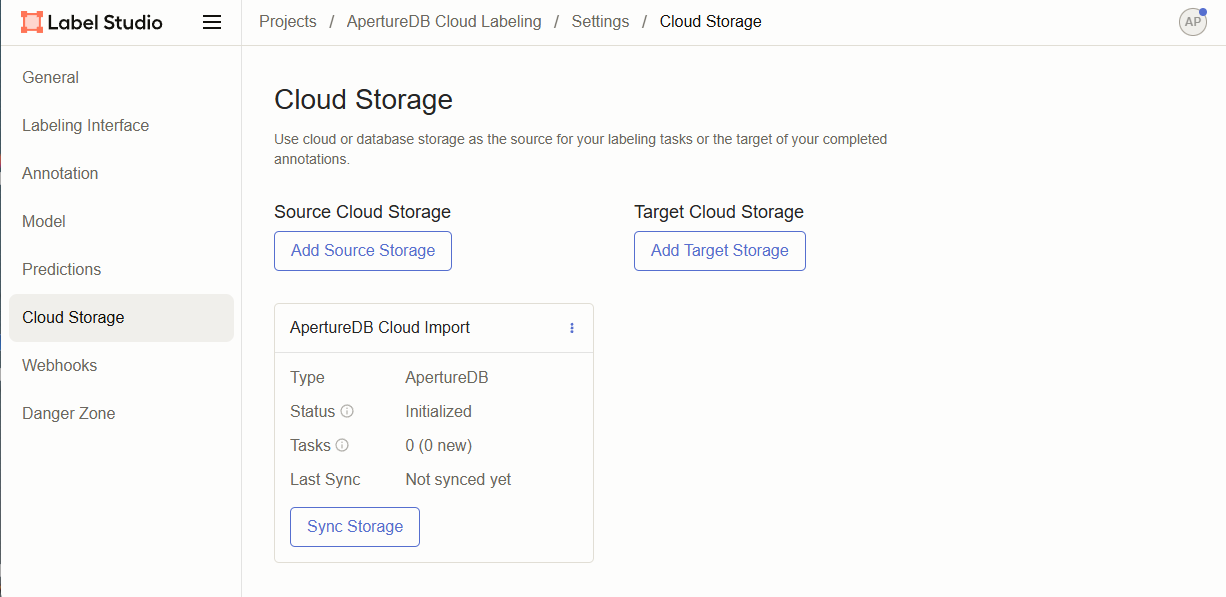
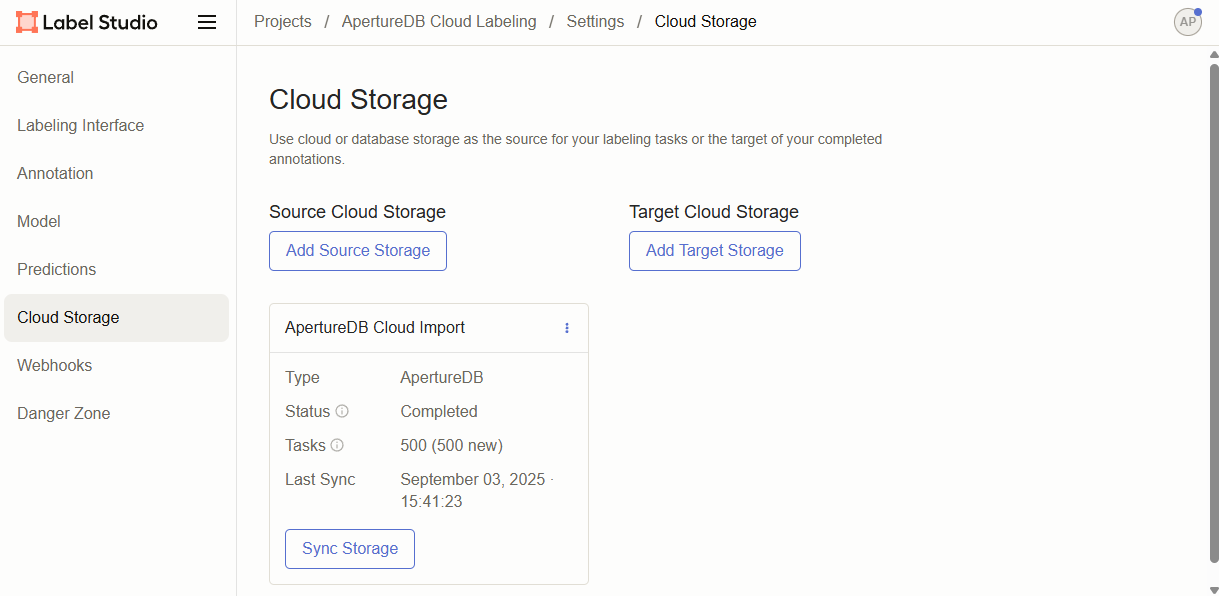
In cloud storage, importing images from your ApertureDB Cloud instance has already been configured. You can just press 'Sync Storage' to retrieve images.
Once it says "Complete" for Status, you can return to the project page by clicking your project name in the top breadcrumb menu.
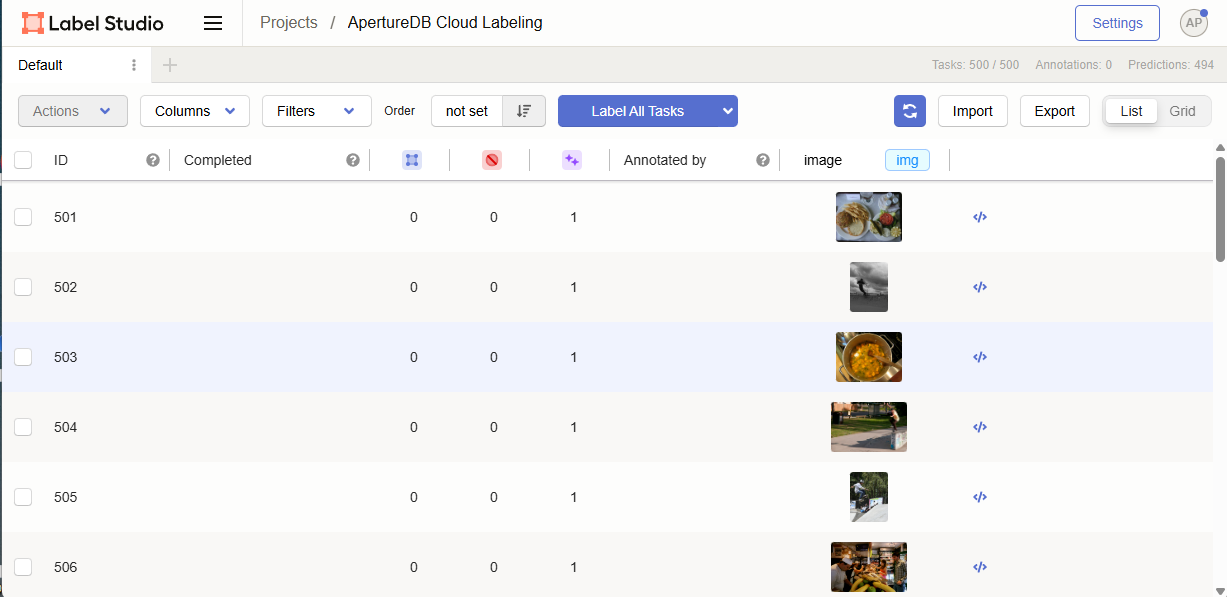
Now you should see a page like below where you can start your labeling.